Sunday, 25 March 2018

A New Herd

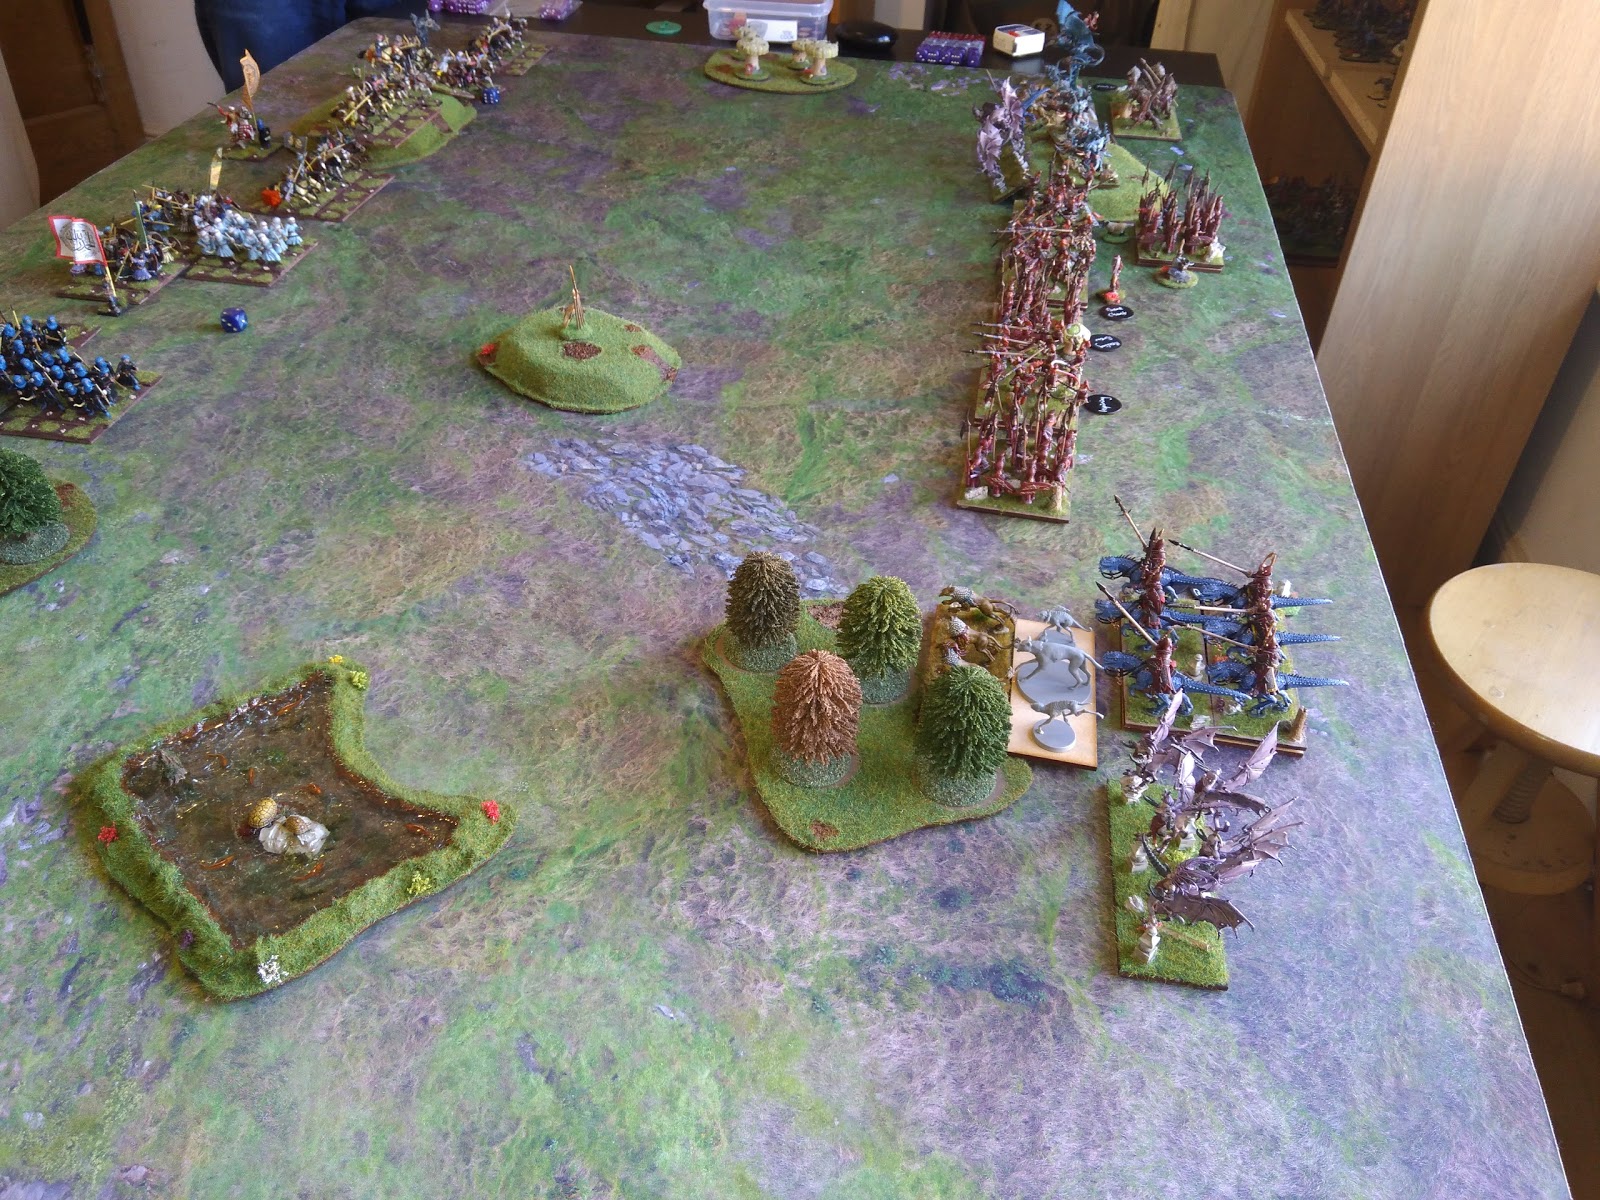
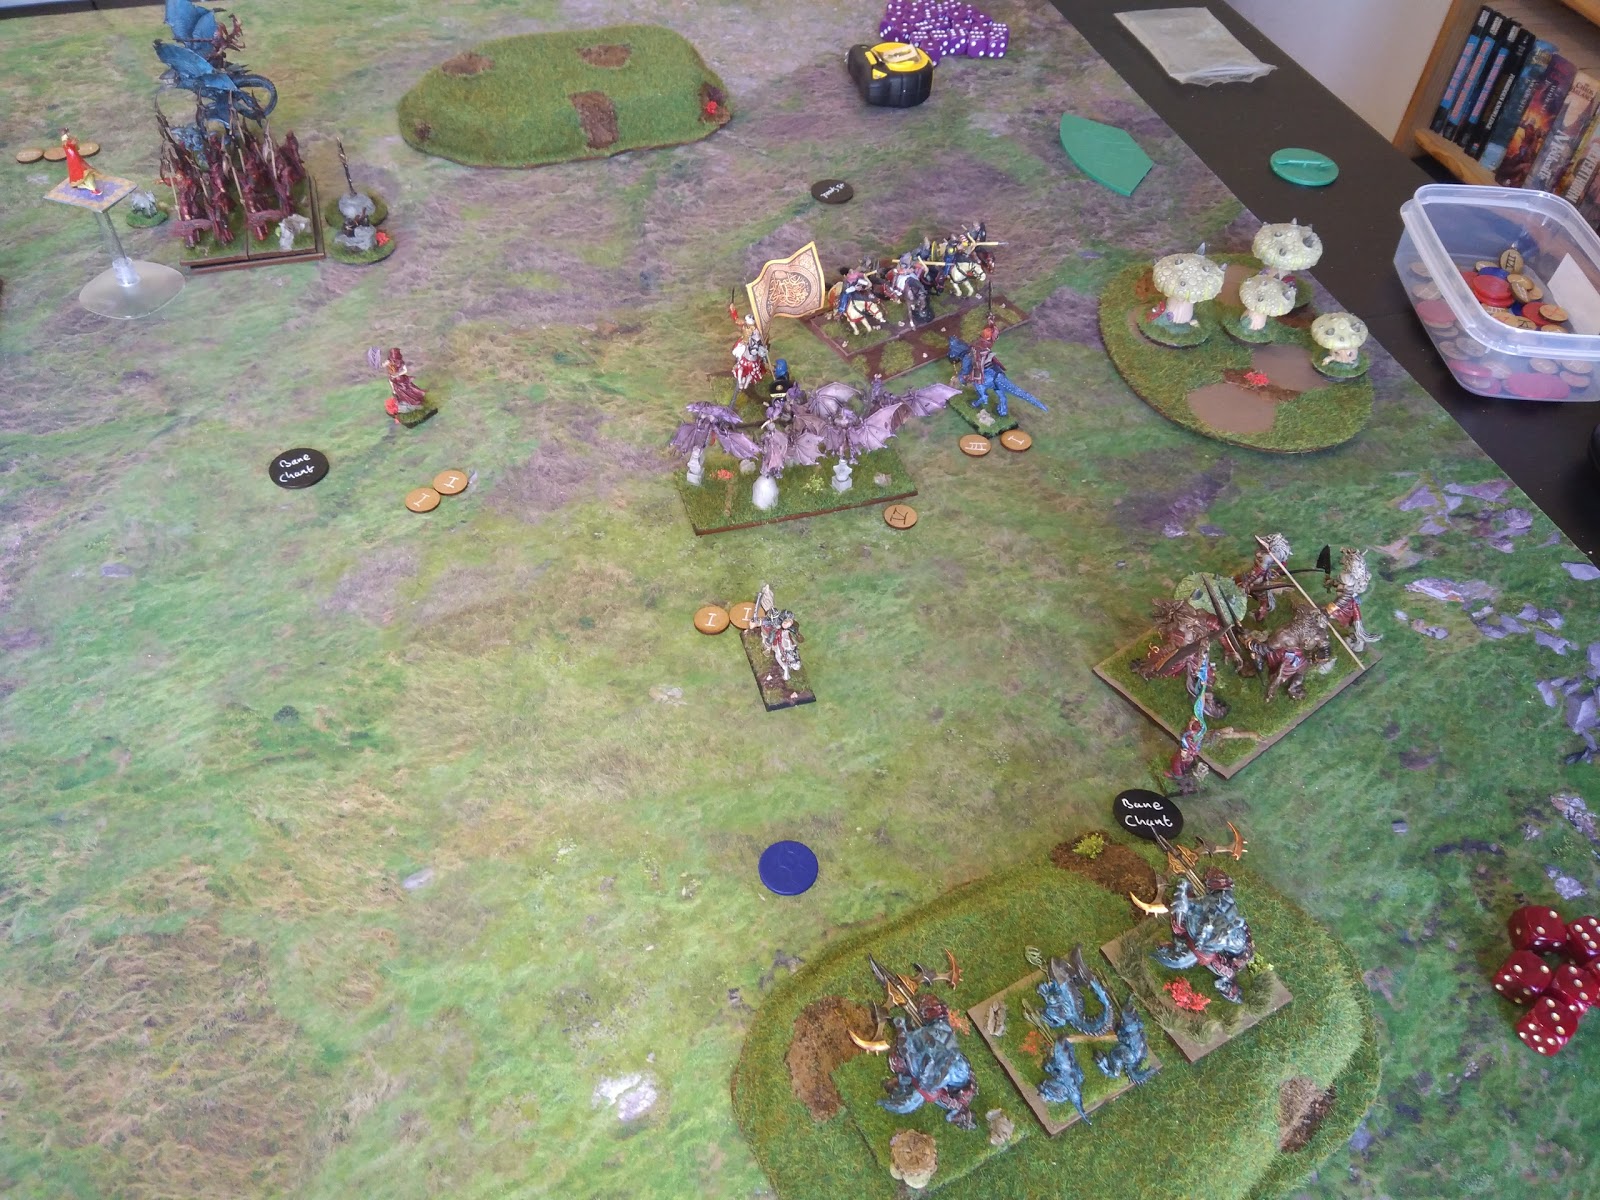
Having completed my Twilight Kin and three armies for SAGA I had planned on painting up all the Mythic Battles: Pantheon models I have, but the arrival of some late Christmas purchases has derailed that slightly. I had been planning on starting a second Kings of War army once the Greeks had been finished but the Shael Han models from Wrath of Kings have been calling me from my 'shelf of shame'.

The Two Butox's

The Herd are a animal / beast men based army and Mantic included them in the Uncharted Empires book along with other armies ex-Warhammer players could use their models for. The army includes several fast moving hammer units in such as the fearsome Stampede and the Lycans who I have already fielded alongside the Twilight Kin. It also contains a wider choice of monster units and cheap combat infantry but lacks much in the way of shooting. As a result it is a much more in your face close combat army than the Kin. The Herd heroes include Shamans who not only have inspiring and Bane Chant included in their base abilities but can also take a potent heal. The army special rule is Pathfinder so terrain should not be as much of a hindrance for The Herd. As I already have two hordes of Lycans I already had the fastest moving elements of the army well covered so I just need to add some more durable units to go with them. The Twilight Kin fielded Regiment sized units on the whole so for The Herd I decided to go down a more Horde based route. I like to plan out a base force and then add some extra units on of which I may only field one at a time to give some options and variation.
The base army will be:
1 * Horde Tribal Warriors - a infantry unit with good nerve and average armour
2 * Horde Guardian Brutes - large infantry with good armour and lots of attacks but lacking Pathfinder
2 * Horde Lycans - large, fast, regenerating infantry, my cavalry stand-in
2 * Troops Tribal Hunters - infantry chaff with throwing weapons
2 * Troops Beast Pack - very fast melee chaff
1 * Brutox - fast, regening monster with a good number of attacks
2 * Shaman - mounted, inspiring, bane chanting and healing

To the base army I plan to have the option to add some of the following:
1 * Horde Giant Eagles - fast, flyers who pack a reasonable punch
1 * Horde Tribal Chariots - fast with a good melee and ranged punch but on a v.large base
1 * Horde Stampede - fast with lots of attacks and hits like a truck
1 * Great Totem - cheap unit that cannot move but buffs the nerve of nearby units
1 * Avatar of the Father - flying monster which hits hard and has high nerve
1 * Lycan Alpha - fast monster with regen
1 * Guardian Champion - cheap monster with good armour
1 * Chimera - cheap(ish) flying unit that packs a good punch
Extra Beast Packs and Tribal Hunters
At least one extra Shaman and a few other hero units on foot.

Beast Packs and Mounted Shaman
I have already chosen the models for all the units and have a plan for how I want to base them up once completed. I want some units to be more focal point units with a greater visual impact so I want to up the modelling on the Eagles, Chariots and Totem to make them more interesting. I also plan to have the Tribal Warrior Horde built to allow me to change up the models in the middle of the horde to vary the overall look of the unit. Only time will tell how well that all goes.


Brutox rear tease shot!

Sunday, 18 March 2018

Pagan Rus Tactica

The Pagan Rus are going to be the first faction I try to 'master' in SAGA v2 so I thought I would get some of my thoughts so far on the battle board down in the hope that this may crystalize the play style in my mind. Whilst I haven't managed to play a game this week I did host one for my brother and our friend John as a pre-football entertainment ( come on you Reds ! ).

Don't copy this, support a great ruleset and buy the books !

The new battleboards have the same layout as the Crescent & Cross boards with the multi-use abilities ( now called basic abilities ) above the name bar and the single use ( now called advanced ) abilities below the name. One mistake that got through the proofing stage is that the Levies should be called Slavs not Slaves.
In general the board retains the battlefield controlling abilities of v1 and adds an interesting mechanic for generating attack & defence dice. The boards big weakness is in shooting reaction / defence and the Pagan Rus look as though they will struggle to deal with mobile shooting based opponents.
The central mechanic for generating attack and defence dice is based on using the Wrath of the East ability. This requires a common and uncommon dice to activate and the Rus player will be looking to use this every turn they are going to be initiating a combat.


As an Orders ability it can only be used in your own turn and does not last into your opponent's turn, so you will need to rely on other abilities to generate dice then. The ability itself is a good way to generate extra attack and defence dice whilst using your melee abilities and of course also generates dice if your opponent changes your armour during the melee. One big change in SAGA v2 is that there is no limit to the number of defence dice you can generate so having lots of defence dice to roll is a great way of keeping your unit alive.

Vikings vs Ango-Danes Demo Game

Playing off Wrath of the East the Rus have three Melee abilities that change the armour value of the unit(s) in combat, Black Bears, White Wolves, & Blood Feud. You can also of course use your opponents fatigue to change your armour and they may also play a Melee ability that changes your armour. Each time that happens you get 2 attack & 2 defence dice, yummy !
The cheapest way to change your armour twice is to use Blood Feud and then Black Bears a combination that can be played for only 2 common dice and if used on Warriors nets you 4 attack & 4 defence dice for the cost of 3 dice ( can be a mix of attack & defence ) and leaves your opponent with one less armour. The order you play the abilities in is important due to the amount of attack/defence dice Black Bears costing you depending on your armour when the ability is played. White Wolves is slightly more expensive but comes with the bonus of generating attack & defence dice of its own as well as those generated by Wrath of the East. 
If you imagine a unit of eight Hearthguard starting with armour 5 and 16 attack dice who use White Wolves ( armour 4 and 22 AD & 6 DD ) then Blood Feud  ( armour 3 and 24 AD & 8 DD ) and then Black Bears ( armour 4 and 24 AD & 9 DD, used 2 AD & 1 DD for Black Bears ) and then if your opponent has any fatigue you can not only raise your armour but also gain attack & defence dice. The result of this should be that not only can you wipe out the enemy you charged but also you should be able to mitigate many of the hits coming back at you.


Khagan! looks to be an ability that will be easier to get off when you are on the defensive with it's range limit, but it is a cheap way to generate 3 attack/defence dice so leaving it to be used in your opponent's turn may be its best use.
In v1 The Long Winter was an infamous ability as it reduced everyone's movement and shooting range to 4" in both the Rus's and their opponents turn, basically turning the game into a slow grind. The new version is much better and whilst allowing units to move at full speed reduces the range at which the Rus's units can be engaged down to 6". This means that it is more likely that enemies will end up being in charge range after their turn and more effort will need to be put into dancing around a Rus army. Blizzard allows you to choose a unit at the end of opponents Orders phase that cannot be charged with a single activation by a unit more that 4" away, basically the chosen unit counts as if it is 2" within rough ground, bad news for your opponent if they have a cavalry army without shooting.


This leaves two abilities that allow you to mess with your opponent and one that I cannot see getting massive use. Frozen Wind is the only way the Rus can add fatigue to the enemy without going into melee and gets better the more your opponent groups up, this should encourage them to try and spread out a little so you may be able to use it to isolate units. Also as it is played during your opponent's Orders phase before they start activations it can be used to slow them down and force them to come even closer to be sure of getting in charge range / stop them from moving away as far.
Biting Cold allows you to lock down a unit once it has been activated for a move, charge. or shot, the unit gets to have one activation and then no more for the rest of your opponent's turn. If your opponent is planning on a big attack with one unit using a multiple activation then this will shut that down. If however you opponent has left themselves with a couple of units that could be activated to cause havoc then you can only shut one of them down.
The Pack looks like a very situational ability and not one you will be playing most games as Pagan Rus. Using a rare dice which would probably be better on White Wolves to get the fatigue loss bonus it also requires you to have units clumped up close to an enemy to get a decent amount of shooting dice so you may as well charge in and everyone knows the Gods do not smile on those who choose to fight from afar.


Overall the Pagan Rus player will be looking to get into melee and avoid a shooting match and once their they will rely on generating lots of attack and defence dice via armour value manipulation to not only cause damage but also to try and avoid losses.
Warband composition is something I'm still thinking about but I can see myself going for large units of Warriors to start off with, perhaps only using 1 point of Hearthguard to act as bodyguards for the Warlord and then 5 points of Warriors. A unit of 10 Warriors could get to armour 3, 17 AD, & 9 DD by using the big three armour changing abilities and still get better if the opponent has fatigue, not something to be taken lightly.

Sunday, 11 March 2018

Bases Maketh the Model

Having completed the painting of some extra beasts from Mythic Battles to stand in as beast packs for my Herd army I got them based up. I have already completed two Troops worth so had the basic scheme to follow and decided to complete the bases of some other Mythic Battles models I had based up to use in Kings of War.
It is interesting to see how much a little time spent on the base can really lift as model, even putting in my normal minimal effort.
So a couple of before pictures for the Gryphon and Snake show a rather flat feel to the models.


Having decided to go with a darker more winter grass feel for the Herd I based up the models I had in with the same theme.

The whole gang
This will mean going back to the Lycans I have already based and changing them over to the new scheme, I also need to reduce the base size for the big fella down to a 40mm square. But that will be a job for another day.
For the main units of Beast Packs I used GW Gryph hounds which I got from Ebay, these are really nice models with plenty of action going on. Two troops of these will be a minimum for any Herd army I think as they can be used to screen the Lycans due to there high speed and being nimble.


For the second set I used some of the models from the Mythic Battles game and in order to be able to play them in both games created some movement trays.


It was a simple job to add a sheet magnet to each models base and then another one on the movement tray, this gives more than enough hold to keep the model in place as it is moved around the table.


I tried using a bronze dry brush over the rough iron metal colour that I have used on my Kin and really liked the effect on the Lycans bracers, this may be another thing I go back and do on the main Lycan models when I rebase them.


The monsters and hero I had already completed then got the same treatment and are now ready to be used on the field of battle.


Sunday, 4 March 2018

A New SAGA

It has been a couple of weeks since SAGA v2 was launched and Mick and I have managed to get two games in. The rules are close enough to v1 that having played a fair for games of the original we have managed to dive in and play without too much referral to the rules. The changes have mostly been to streamline the rules and try and take out the more 'gamey' elements of play. I particularly like the changes to melee so now every figure counts no matter how many are in contact and you and you opponent take it in turns to activate abilities, this should add an extra layer of tactical play to the melee phase.
The battle boards for the factions have also been updated with the four factions we have played so far retaining the feel of the originals but with the three ( Normans, Vikings, & Anglo-Danes ) that launched with the first SAGA book feeling more nuanced. The Pagan Rus had benefited from being a later release so the makers had more experience in making interesting boards by that point.
Our first battle pitched my Pagan Rus against Mick's Normans fighting in the Breton style.

Our first v2 battle

The Rus like to get into combat and the central mechanic revolves around changing the armour of the unit to gain attack & defence dice. They do not have a lot of answers to ranged fire and are an all foot warband. The Breton style Normans rely on short range javelin fire and staying out of combat with mostly mounted troops. The old Norman battle board did not support a skirmishing style of combat but the new one has a couple of activation reaction abilities which allow cavalry to move in the enemies turn and some good shooting abilities. It also has some nice combat abilities so once the enemy has been shot up you can charge in to finish the job off.

Pagan Rus advance
In the game Mick managed to wear me down enough to claim a victory with my Rus generally performing well if they could stop the Normans from retreating out of charge range. I think the use of terrain to hinder cavalry will be something that I need to explore as all troops now only move in straight lines. Cavalry can split their move into two sections but overall they cannot go around terrain as well as they could before.

Pagan Rus Warlord shortly before he died

So as with v1 mastery of the game will rely on not only knowing all about your own battle board but also the board of your opponent, something only playing the game will bring.

Our second game was arranged as preparation for the visit of my brother and Jon from Cirencester in a couple of weeks. As I will be running the game for them I thought it wise to at least get a feel for the battle boards we will be using. They will be playing the classic matchup of Viking vs Anglo-Dane. Both of these factions have had an update but both feel very similar to the v1 version. The Vikings are still all about generating lots of attack dice and shedding fatigue and the Anglo-Danes about adding fatigue and wearing down the enemy.

Vikings on the far side
For the game I split my Rus force in half and added some Varangians I have for the Byzantines to the Anglo-Danes to represent Dane Axe wielders. This gave 6 points a side with the Vikings getting a point of Berserkers to try out. Mick took control of the Vikings and I the Anglo-Danes and the battle went very much to type with the Vikings seeking to advance into combat but being hampered by the Anglo-Danes ability to put out 4 fatigues a turn onto the enemy. The Vikings can remove fatigue but this then eats up dice that could be spent on moving or fighting.

The sides about to clash
It the end after a couple of cautious turns I took the plunge to charge into both the 4 man Berserker unit and the 8 man Hearthguard unit with my two warrior units. This had mixed result with one unit being wiped out and the other reduced to 2 men for the loss of all the Berserkers and only 1 Hearthguard.

The much reduced Ango-Danes
I had thought that this was the end but a miscalculation on the activation dice meant that Mick missed a chance to take out my Warlord and allowed me to remove his unit of Hearthguard.

The tables turned

This in turn left the Viking Warlord exposed and he proved the fighting prowess of the Warlords by inflicting many casualties but in the end died at the hand of my Warlord.

Their can be only one

Our next game will be the reverse fixture with Mick taking on the Anglo-Dane role and myself the Vikings. That should I think give a decent insight for the game when the Cirencester chaps visit and then allow Mick and I to get back to our 'main' boards.

Sunday, 25 February 2018

Artefacts of Kyron Campaign Battle #6

Battle #6 saw the two sides clash in an Eliminate game as they sought to gain an upper hand before the climactic clash in battle #7 at the Gates of Kyron. Eliminate games involve placing a bounty on each of your three most expensive non-individual units, 1 VP is gained for killing an opponent's unit with a bounty in melee, no VP's for killing them with ranged fire. A bonus objective worth 1 VP is place in the centre of the table.
With the final battle in mind my plan going into the game was to make the capture of at least one of the Artifacts held by the Human forces my priority and then the capture of the bounties as a bonus if possible.
The battle saw the sides increase to 2,500 points with my Twilight Kin adding some more Herd allies in the shape of  Beast Packs and some long range punch with Twilight Bolt Throwers. The Humans opted to make sure the bounties where not placed on all their fastest units by fielding two Hordes of Foot Guards.

The forces of Men

The initial setup was favourable to my plan as the two artifacts where quite close together and one was placed on the squishy flying carpet unit. The other was on a Foot Guard Horde which would be a tough nut to crack but I felt should go down to concentrated fire.

The forces of the Twilight Kin ( and Herd )
After the deployment was completed my brother remembered that possession of an Artifact reduced a units movement to 5" and he asked to move the Banner to another unit as he had put it on a speed 10 flying unit. I couldn't really say no as that would reveal my plan and as these are very much friendly games I took the setback as best I could. The banner did not go far but did end up behind the gigantic Oliphant ( chariot horde stand-in) and not directly faced by any of my units.


The bounties for my forces where placed on my Herd Lycans, my Shadows Regiment and my faithful Dark Knights. I think the Dark Knights have so far been my best performers, they have wiped out more units than any other part of my force and tend to take a lot of killing.


After the roll off Stuart won the right to choose first turn and asked me to go first. I made a general advance with units being careful to stay out of charge range of the plentiful cavalry on the wings and pushed further forwards towards the centre.


My artillery battery opened up on a unit of Human Knights and did some damage but not enough to worry them.

Battery Hill bottom right
The Humans then held the centre and pushed the wings forward, as the Gargoyles and Beast Pack out ranged their cavalry they opted to push forwards quickly in the hope to hem my troops in.


On the Kin left the combined fire of several units wiped out a Beast Pack Regiment (allowing me to get rid of some unpainted stand-ins).

The imposing Oliphant towers over the field

On the second turn I launched the Dark Knights into the Oliphant in the hopes they could wipe them out and then carry on to take a shot at the Berserkers carrying the Banner token, the Gargoyles moved to engage the archer cavalry and in hindsight they may have been better off moving to cover the right flank of the Knights.

Stuart checks for a flank charge
 The Knights wiped out the Oliphant for the third time out of the four battle it has fought in and the rest of the forces pushed up in the middle.


Centre Objective siezed

The artillery battery managed a great round of fire and wiped out a Knight Regiment and the right flank descended into a bloody melee with many units being committed to the fight.

It gets tasty on the right flank


On the left the Dark Knights went down to a charge by a Foot Guard Horde and the Flying Carpets and the Gargoyles and Horse Archers continued to trade blows. The ability of the Gargoyles to regen meant they had the advantage in this fight.


In the centre a nerve roll of double 1 meant that the archers covering the Foot Guard Horde with the Sword Artifact stayed in place but the artillery started to chip away at there nerve.
On the right my Kin had already wiped out the other unit of Horse Archers and in reply lost a Regiment of Buccaneers and the other Beast Pack. The Human Knight Regiment opted to advance to try and avoid a flank charge but got carried away and managed to line themselves up for another unit to be able to charge them.


During the next Kin turn things cleared up on my right as several charges cleared out some of the cavalry but I made a mistake by not turning my Shadows to face the Air Elemental lurking in the bottom right corner. In the centre a nerve roll of double 1 meant that the archers covering the Foot Guard Horde with the Sword Artifact stayed in place but the artillery started to chip away at their nerve.


This allowed it a flank charge which almost routed the Shadows and left them wavered.


In the centre the Humans started to double up on the Kin infantry managing to wipe out a Reaper Guard Regiment.


On the right Stuart sent the Berserkers to help out the Horse Archers who had been wavered by the Gargoyles.


The next Kin turn saw the Air Elemental wiped out in one furious Lycan charge and the blocking Archer Regiment finally dispatched. With a Regiment of Buccaneers on the hill ready to sacrifice themselves I followed up my Reaper Guard charge on the blocking Archers in the centre and moved another Regiment and the Dark Lord on Pegasus into flanking positions for the Human Foot Guard Horde with carried the Sword Artifact. 


The right flank was looking pretty clear at this point and the Artillery continued to add damage to the crucial Human Horde.


During the Human turn the much maligned non-inspiring Hero managed to get a wound off on the Shadows and they failed the nerve check giving the Humans a second bounty. They also charged the hill and took the bonus token so had a 3-0 VP lead.

The Uninspiring Hero wins the day

As time was once again pressing on we agreed that the only move that now mattered was if my forces had enough to wipe out the Foot Guard Horde and claim a token so we worked out only that combat.

Artifact seized

Between them my last Reaper Guard Regiment and the Dark Lord had enough to wipe out the Guards and claim a bounty and more importantly the Sword Artifact. 
So another victory for the Human's (3-1) and another bloody affair which could have gone either way perhaps had I not made a couple of mistakes. But such is the life of an armchair general.

So next is the last battle in the Campaign as the two sides seek to unlock the full potential of the Artifacts whilst preventing the other side from doing so. My aim to carry the majority of the Artifacts into this battle worked out so perhaps a victory is in sight ? 

Saturday, 24 February 2018

SAGA v2 Formations

When I first heard about the changes in the new SAGA rules my initial thought was that the formation of models within the unit would be less important than before. This was because in the old version only models in base-to-base contact with an enemy or in base-to-base contact with a friendly in base-to-base contact with an enemy counted in the combat. Basically it was possible to arrange your models so that your opponent could not count all his/her models whilst you fought with your full force. In the new version if you have at least one model in contact then all the models in both units count in the fight. This rule along with the fact that all your models must end up within 4" of the first model that charges/moves and within 2" of another model in the unit would lead most units to end up in a blob or line (was my thinking).
As I will be playing Pagan Rus mostly in SAGA 2 until the Crusades book is released against Mick who loves a bit of shooting I also had a look at the shooting rules. These have stayed the same so attack dice are generated by counting each model in range (same as SAGA v1). This rule staying the same and the change to the melee rules got me thinking about what would be the best formation for my troops to adopt to reduce the amount of shooting that they take.
To help illustrate I lined some troops up and assumed they would be taking javelin fire but the reasoning works the same for bows.
So if I take two lines of troops and move my melee troops to within 6" of the ranged troops so I can single activate next turn to make contact they would get the entire front rank. In this instance it would six men generating 3 attack dice if the shooters are Warriors/Levy or 6 if they are Hearthguard.
If my opponent wanted to get the whole unit in then they would need to move forward first before shooting.

Standard setup

I then thought about what would be the best way to present as small a frontage as possible so as few of the enemy models would be in range but still leave me within 6" for the charge. The obvious example from various periods in history is the wedge.

10 man wedge
I put together a 10 man wedge and checked that the furthest model is within 4" of the 'leader' and obviously each model has at least a couple of friends within 2".
So this unit can now be positioned 6" away from the enemy archers and reduce the number of enemy models that can shoot depending upon the positioning of the unit.

Head On

Essentially the further towards an edge you are the less enemy models can shoot, so I would expect most people to say it is reasonable to count 3 shooting models if you are positioned near the middle but if you get a good corner angle then only 1 model would count.

Hit the Corner
In order to make the charge all you would need to do is move the 'leader' model and then move up the rest behind, the rules state that as long as the first model moved can make contact the rest need only maintain unit cohesion if they cannot reach.


Now of course none of this stops your opponent from moving so they can get more shots in but that does mean they will need to at least double activate in order to get that shot off which most likely means they will generate a fatigue.
Now I suspect that many (including myself) would feel this setup to be overly 'gamey' but if you are playing an army faster than yourselves that rely on shooting (I'm looking at you Bretons!) then making the enemy have to get closer to you to be effect may just be a sensible decision.