Showing posts with label Blood & Plunder. Show all posts

Sunday, 23 February 2020

Blood & Plunder: Breakthrough

I've not done much in the way of painting this week but I did get a game of Blood & Plunder in.


This scenario saw the English Buccaneers on the offensive trying to reach the Spanish Militia deployment zone.


The English force consisted of:

1 * Experienced Commander
2 * 10 man Veteran Freebooters
1 * 8 man Veteran Forlorn Hope
1 * 8 man Trained Militia
1 * 8 man Veteran Sea Dog with Musket & Grizzled Veteran


With the Spanish fielding:

1 * Experienced Commander
2 * 12 man Veteran Hostigadore, one with Grizzled Veteran
1 * 12 man Veteran Lanceros
1 * 8 man Veteran Milicianos Indios
1 * 7 man Veteran Marinero with Muskets


With the defenders setting up first the English massed on one flank and pushed forwards into the wooded area to gain cover and setup a fire-base. The Spanish made to move around on their right flank but found the open area to far to cross without taking heavy fire.


The game settled down to an exchange of fire in the center with both sides laying down a decent amount of shots but not causing massive casualties.


In fact this may have been the least bloody land game I've played so far with the Spanish not taking a Strike Point due to casualties and the English only taking one on the 5th or 6th turn, after the game had officially ended.


The English managed to feed their Forlorn Hope down the flank and into the scoring zone and despite some concentrated fire the Spaniards could not land enough hits to cause them to retire so they applied two Strike Points in turns 3 & 4 and the Spaniards lost the Strike Test and thus the game.


The Strike Test does reward playing the scenario over going just for kills but it did mean a rather abrupt end to a largely bloodless engagement.


As we had time to spare we played a few more turns with the Spanish being wavered and driven back and then recovering and the Lanceros finally managing to charge in against the Forlorn Hope but then only killing one of them.


I'm still not a fan of the Spanish and especially the Lanceros as they are an expensive unit that can go a whole battle without contributing anything, even the worst shooting unit can at least let you throw some dice and keep the enemy interested.


I did get some more Star Saga models painted and the second set of stairs for the adobe terrain arrived but I will save the pictures of that for next week. Though I did field the well that I completed last week and it can be seen in the middle of the village.


Also the League of Infamy late pledge manager opened this week for those wishing to get the game or some of the resin models being made.

Many more models are available


Monday, 10 February 2020

Attack the Block

Having completed the adobe buildings last week a game of Blood & Plunder seemed the ideal way to get them on the table, so we played the Raze scenario.
This scenario sees the attacker trying to burn buildings (marked with red tokens) whilst the defender tries to stop this happening.


The scenario rules are such that the attacker only needs to destroy one building in order for the defender to start gaining a strike point at the end of each turn and if no buildings are alight then the attacker starts gaining strike points after the third turn.


Mick rolled highest to see who would be the attacker and I setup my defenders in the village ready to try and stop the English from setting fire to it. The first turns saw the English push forwards and start laying down some accurate fire whilst my Spanish responded back with less effect. The English are generally better shots than the Spaniards and the Ball & Shot special rule most of them have make this even more pronounced at ranges under 12".


The English Sailors then charged my central unit who badly flunked their defensive fire and routed the Spaniards including my commander. The Spanish Lanceros then tried to charge the Sailors but got driven off with heavy casualties first by the Sailors and then by a supporting unit of English Freebooters.


With the English Sailors looking to finish off my Commander I committed first my Sailors who had been on top a near by building and then my Indian militia to kill them off and save my Captain.


During this mass brawl the English Forlorn Hope had managed to set fire to one of the buildings and the two units of Freebooters had been shooting my Spanish up to good effect.


The English did get a little over-eager with the shooting and left themselves vulnerable to charges and I got first the Lanceros and then the Indians into melee. The Lanceros made heavy work of killing the Freebooters they had contacted but did keep them moving backwards over the next two turns whilst the Indians wiped out the Forlorn Hope.


 But by the end of the last turn the English had pulled out an unassailable lead and despite a last gasp spurt of casualties they limped away with a win.

 
Both sides ended the game severely mauled by the other and had taken over 2/3 casualties, the bloodiest game we have had so far.


I also did some work on a mono-cycle for Deadzone which I picked up at the Mantic open day.
It is treated as a piece of equipment so in order to make it as flexible as possible I mounted it on a base with a cut-out so a model can be added on to count as riding it.


At present the Marauders cannot take the mono-cycle as part of their equipment but an Orc can but dream...


It can however be used by the Rebs and Mazon Labs so should see action with one of those factions. As you would expect models on a mono-cycle are very fast but cannot climb buildings so can add an extra level of mobility to a Strike Team.


Sunday, 26 January 2020

The Plague

Despite being under the weather and not really feeling like doing much for most of the week I have managed to complete a few more models and get a game in.


I now have both the leaders completed for the Mazon Labs faction so can field a legal strike team.
Neither is really a melee beast so would be happier hanging back and leading from the rear. Graves can be upgraded with a better ranged weapon so could for instance take the Range 4 AP2 Thermal Rifle to add some armour piercing into the team.


As with all leaders they come with a special ability with the Dr being able to raise dead friendly troops as Plague Victims and Graves being able to give some troops a free suppressing fire. Out of the two I like Grave's ability more as it can be used to pin an enemy to allow your melee orientated troops to close the distance.


The other addition for Mazon Labs is the Data Storage Unit which again is a ranged specialist. This unit has Psychic abilities which do not require line of sight to use meaning the enemy has no place to hide. It also has the Invigorate ability which allows you to reactivate a model that has already been activated that turn, very handy to use on a powerful model.


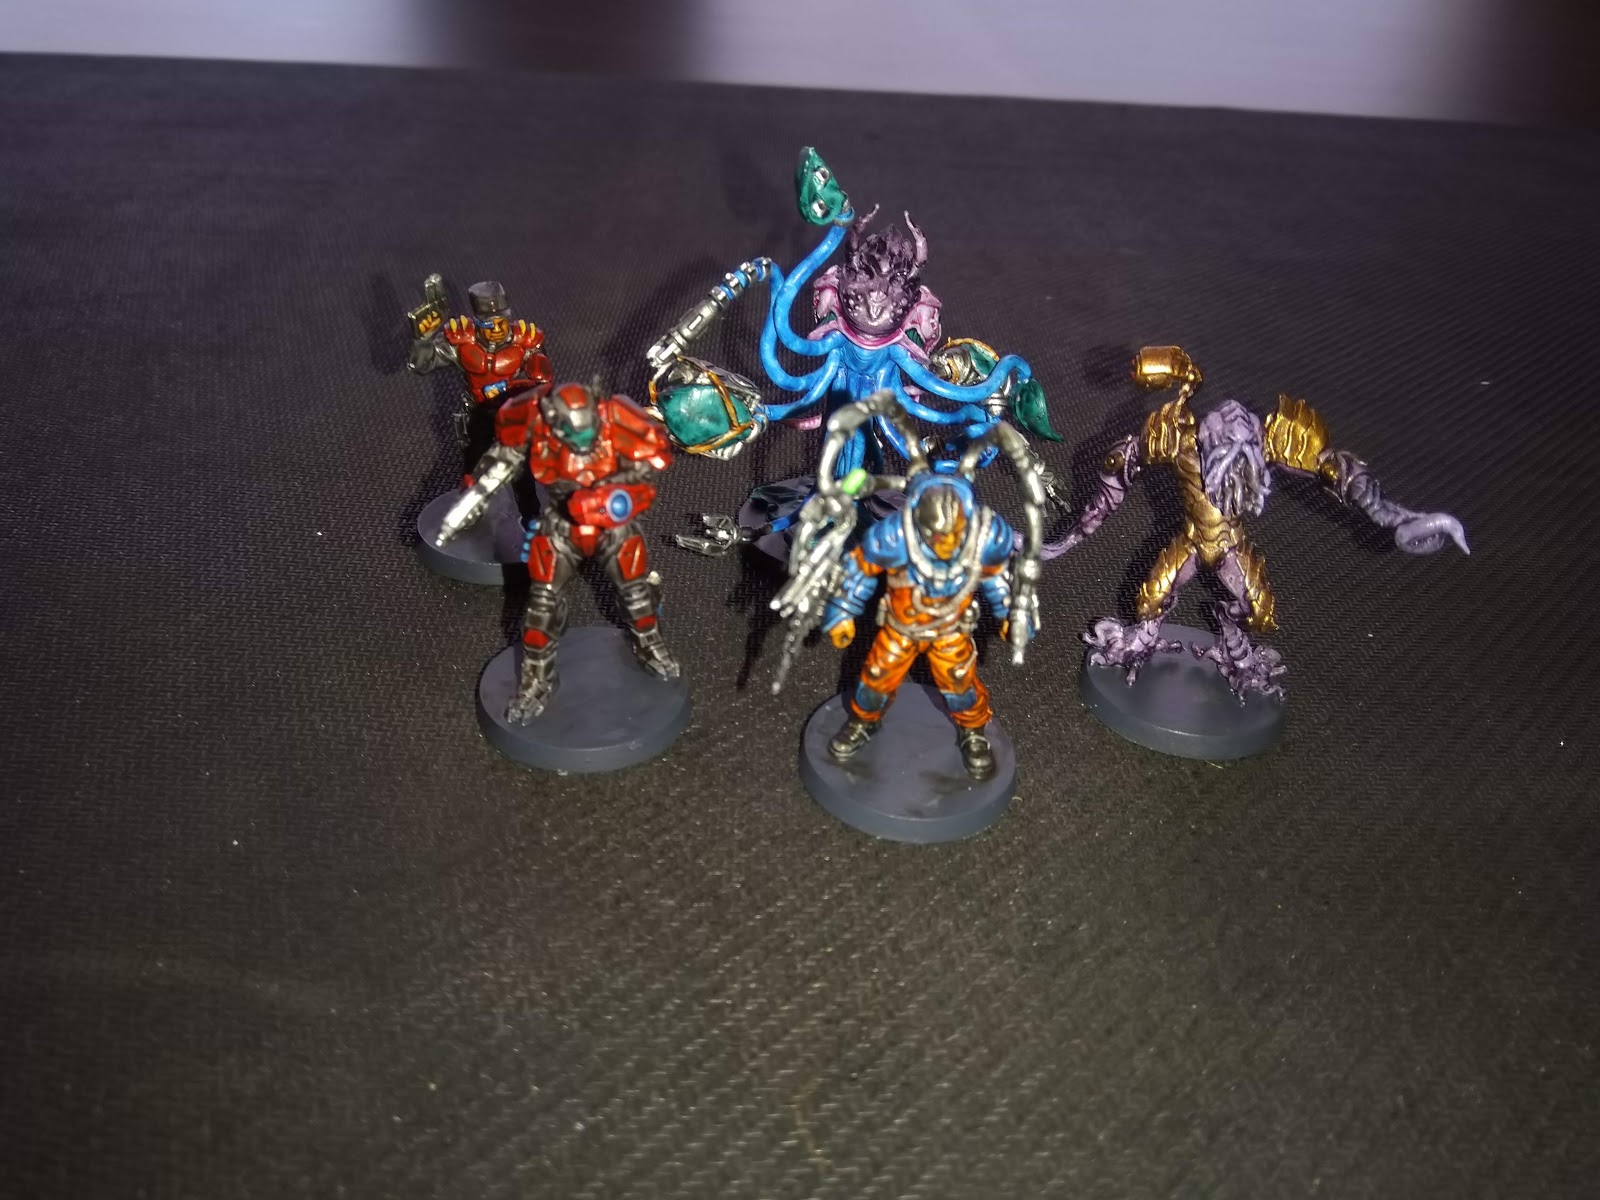
The last two models aren't for the Mazon Labs faction so are unlikely to be used other than in Star Saga. In Star Saga they are two of the bosses that the player Mercenaries have to defeat in the game.


I also had Stu over for a Blood & Plunder game on Saturday and we played the Control the Field scenario. This has only his third game and they have been spread out over several months so some learning was going on whilst we played.


The scenario involves both sides trying to control at least two of three objectives placed along the center line of the table. Both sides start in opposite corners giving them one close objective and generally leads to a scrum in the middle.


The English under Stu's leadership took up a good early position and soon started to score victory points.


This forced me to sacrifice one and then eventually another unit in the open to contest the middle objective and then the Spanish managed to wipe out a couple of English units in melee. The first unit was unlucky not to wipe out a Spanish unit lead down by the objective and was caught on the counter-charge by a supporting unit and the Lanceros for once got a charge in against a fatigued unit so they could not use defensive fire.


In the end I managed to just inflict enough casualties to win by one Strike Point after a bloody six turns.


I also took delivery of some adobe building from Fogou Miniatures, these where from a Kickstarter campaign I backed only 1 month ago, which is a nice quick turn around as these things go.


The models are cast from yellow resin so could be almost used straight from the box, I'm going to put some paint on them though. One big bonus is that no release agent was used in the casting process so the models can be painted without needed to be washed first.

Sunday, 5 January 2020

First Outings

After a break from actually playing any games for a few weeks I managed to get a couple of first outings done this week.
First off I hosted Stuart for my first game of Kings of War v3 and my first game with the Undead. He played his Abyssals which he had fought against several times but never with.
So this was very much a voyage of discovery for both us with the armies and a good chance to try out v3 for me.


My army for the game was as follows:

175, Skeleton Spearman Horde
270, Soul Reaver Infantry Regiment
-- Blessing of the Gods
270, Soul Reaver Infantry Regiment
-- Chant of Hate
130, Revenant Infantry Regiment
-- Fire-Oil
265, Soul Reaver Cavalry Regiment
-- Sir Jesse's Boots of Striding
70, Zombie Regiment
105, Revenant Cavalry Troop
70, Ghoul Troop
70, Ghoul Troop
280, Wight Horde
-- Brew of Haste
265, Revenant King on Undead Great Flying Wyrm
-- Surge (8)
175, Goreblight
230, Mhorgoth the Faceless
215, Vampire Lord
-- Staying Stone
-- Undead Horse
-- Surge (4)
130, Revenant King
-- Mournful Blade
-- Undead Horse
-- Surge (5)


As I'd not played Undead before and never used a Shambling / Surge army I wasn't sure how much Surge was actually needed and as it turned out I think I only surged once during the whole game, but that may just have been my missing chances to do so or not getting the troops into the best positions to take advantage of the surge ability.


Things which worked well where the Soul Reavers who are as expected a real hammer which could potentially one shot most units alone and certainly with a double charge. The troops of Revenant Cavalry proved to be excellent chaff and surprising resilient so I can see myself using in greater numbers in the future.


Mhorgoth was very handy and managed to be doing something every turn after the first. His drain life is very handy though I need to target lower armour units as even with Piercing (1) he is better off not picking on Def 5 targets.


The one thing that didn't really happen was many grinding fights with both sides fielding some strong hammers most fights where over and done in one round. I had wondered about including healing or more drain life in the army but I'm not sure it would have been that useful in the end.


The army includes almost no shooting which when I played Herd wasn't such an issue as the army was faster and got into combat quicker, in the slower Undead army some more shooting may be needed to help suppress the enemies chaff and shooting elements.


So lots to think about before the next game, whenever that may be.


The Mayan temple scenery also got it's first run-out when Mick came over for some Blood & Plunder. The temple formed the focal point of a race to claim a pile of treasure which ended in a bit of a scrum  which saw the Buccaneers come out on top with the Spanish taking some heavy casualties.