Sunday, 8 June 2025

Armada: Northern Alliance Fleet

A while back after attending the South Oxfordshire Armada event I was inspired to print off a new fleet and after what feels like a long time they have finally been completed.
Wanting something a bit different from my current fleets I went with the Viking themed Northern Alliance/Varangur models. The plan is to use these alongside my Kingdoms of Men army when we next do an Kings of War/Armada campaign. I'd put off the start of painting the fleet to await the arrival of the Army Painter flexible triad paint set so this was also my first outing with those. 


Not really knowing what fleet composition would be best I went with printing off two of everything apart from the XL. Not being a fan of fliers I didn't print off any of those so did save myself a small amount of effort. In general the NA ships pack a good number of Heavy and Close guns generally backed up by a reasonable amount of crew strength. I'm thinking they want to get in close to soften the enemy up with shooting and then finish them off with a boarding action. They also have a couple of Indirect options to shoot on the way in to further soften up the enemy. 
The faction specific upgrades (Dwarven Ale & Naiad Ensnarers) are defence orientated as they add nerve and reduce incoming boarding damage respectively. Whilst the fleet also benefits from the Glide rule which could potentially add 1" or 2" onto a movement step. I think Glide could potentially be useful in a number of scenarios so it will take some practice to make the most of it.


First up we have the XL which in common with all XL's is a bit of a beast. It packs a fearsome broadside and a good number of combat crew so cannot be taken lightly. It's nerve is perhaps a little low but that can be boosted by both dwarven ale and sturdy construction if you can spare the upgrade slots.


The fleet only has one large ship option, the Serpent. Again packing a decent number of guns on the broadsides with a decent crew strength these can put out some shooting pain. They also have a special ability (Ice Blast) that lets them potentially reduce the speed of enemy ships, so this could be useful for slowing an enemy ship for boarding or other reasons.


The Draakar is a true glass hammer, it's the fastest ship in the fleet and has very low nerve and structure points but does pack a mighty 7 crew strength. It's not cheap and is unlikely to survive much shooting or combat against a strong foe but it is capable of wrecking similar sized ships in quick order.


The Ice Breaker is a much more sturdy ship with above average nerve and decent broadsides and crew strength. It feels like this is the safer option between the two medium main battle ships and probably the more sensible choice.


The first support option is the Snekkja which adds to your indirect weapon options. It's not fast or tough and doesn't want to fight up close but they reasonably cheap. You could also double their firepower with an additional forward weapon though that would increase the price to 22 points.


The Skeid is a nice model but I'm struggling to see the value in it's special rule and it's not really quick or tough enough to be an objective grabber so I suspect I won't be putting any on the table.


The last option is the Karvi squadron which allows nearby ships to count as having grappling hooks. The squadron auras are a nice idea but I've generally found them to be too slow to actually use them when needed, so it's probably better to just put the item on the ship that needs them.


It's taken a while to get these all done but I'm glad I've got them all painted up and ready to use, hopefully the South Oxford guys will have another Armada event I can take them too.


Sunday, 1 June 2025

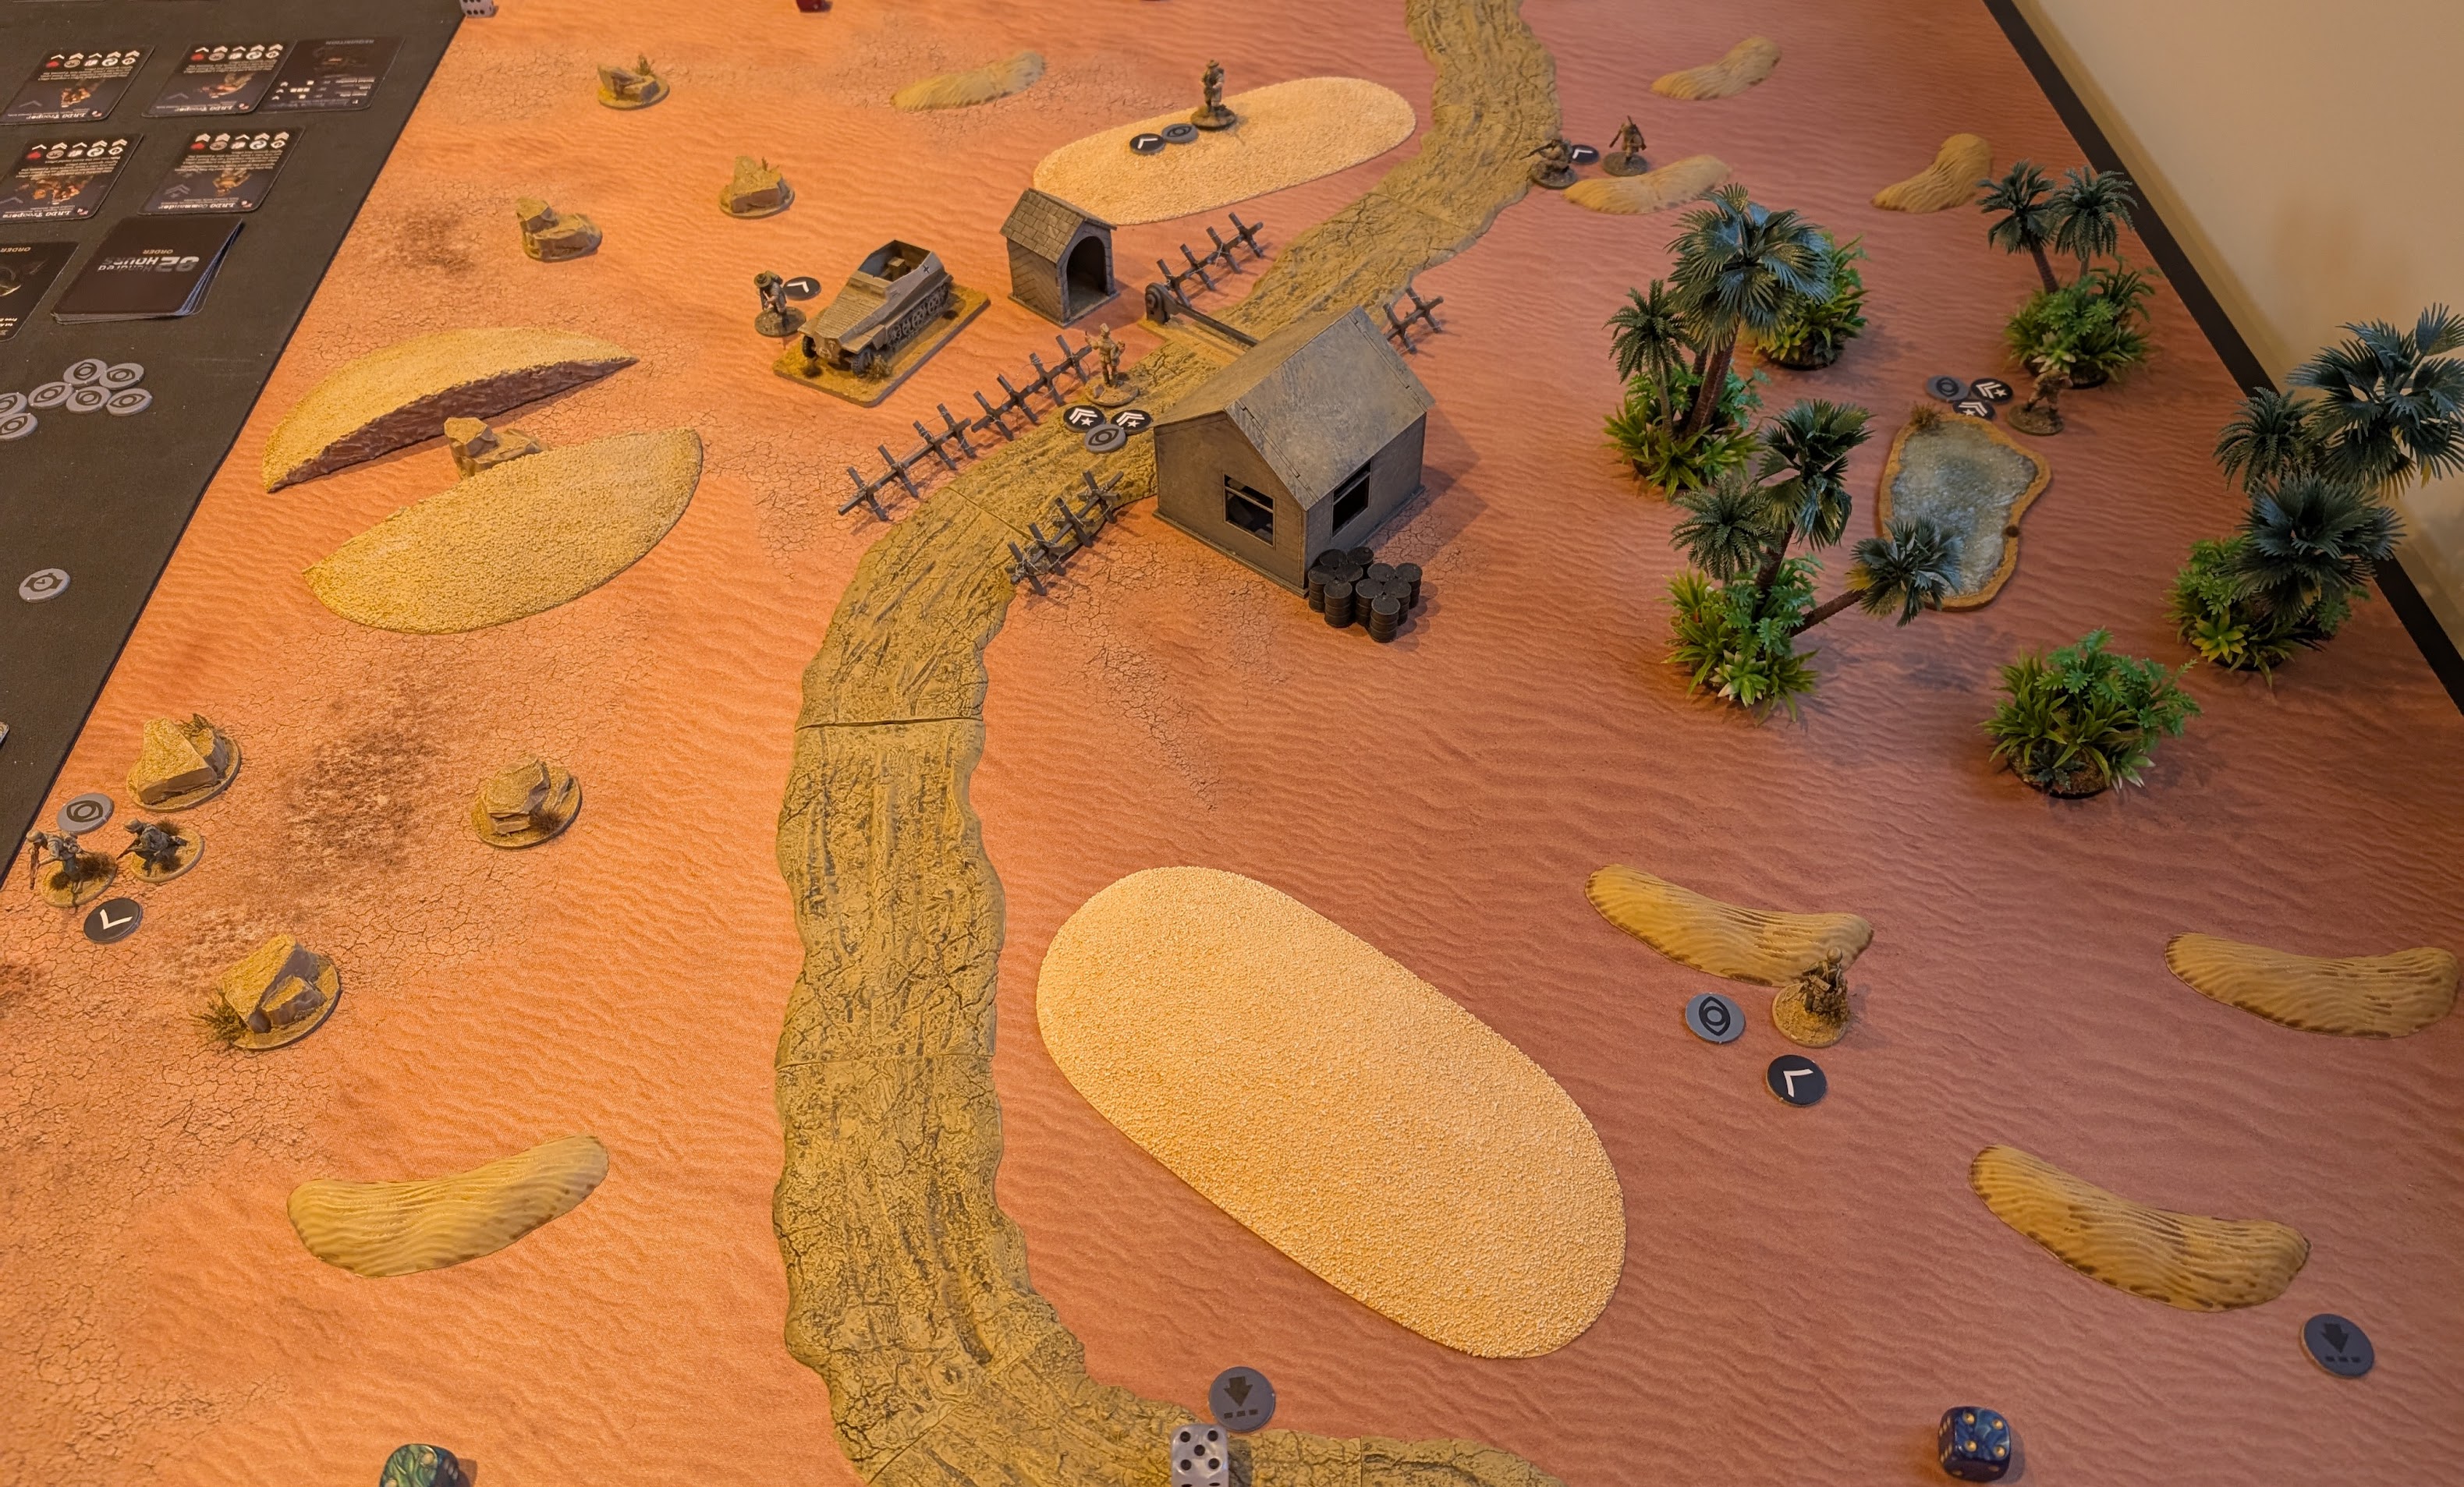
0200: 2nd First Game

Having played a reasonable number of VfV games now it felt like a good time to have another look at the other set of WW2 rules I have. I've played one game of 0200 Hours but that was a long time ago now so we essentially came to the game from fresh.


Mr T and his 8th Army took on the role of the attackers as we played the introductory scenario again. This sees the alarm already raised and the attackers trying to get off the opposite side of the table without losing three men. The defenders simply need to stop this happening by killing three of the attackers.


The game is asymmetric in that the two sides generally have access to different orders so the attackers spend a lot of time sneaking about whilst the defenders have a semi-random patrol mechanic which stops them simply heading straight towards the attackers.


As with the previous game this meant that some of the attackers spent a fair bit of the game wandering around whilst the attackers killed off their friends. For much of the game it looked like the attackers would have an easy win until the German Officer stepped up and dispatched two of the attackers.


This lead to a rather nervy conclusion to the game as the last pair of SAS had to try and get off the table without either of them being killed, something they just managed to do with some aid of an event card. 


Next week we will go onto scenario 2 which introduces an alarm tracker and larger forces.


Monday, 26 May 2025

Firefight project

 My first dip into Mantic's Sci-Fi universe sees me trying to work out colour schemes for Firefight/Deadzone Nightstalkers - surely it shouldn't be this hard.

I think I'll go with these schemes, give or take, for the Scarecrows and Spectres but there's plenty of room for technical improvements.

I started a Reaper but got completely disillusioned so he(it) is marinating in Dettol so I can start again - #TorturedArtist


V for Victory: Shifting Lines

The seventh scenario in the book is Shifting Lines. This involves each player placing down three jump off points in their half of the table and then three objectives in the opposition half of the table. Once these are all out each player takes it in turns to place infantry teams around a jump off point. Any teams left over and all vehicles are then placed on the board edge. Essentially you score more points for an objective at the end of the game the closer it is to the opposition base edge, you can also move objectives you control a short distance each turn so you could push them closer to the opposition edge.


The 8th Army went for a narrow front with their three jump off points close together and two of their objectives just over the half way mark in front of them. Their third objective is sat under my A/T gun. I went for a broader front with two objectives right on the opposite baseline from the 8th Army deployment points and the third on the same side but just over the half way line.


The early moves saw the Sikhs pushing up towards their two closest objectives whilst their recon jeep had to switch sides to contest the my two objectives. The DAK where more happy to sit back and pour fire into the opposition. The primary target for this fire was the Sikh mortar which had managed to knock out the sdkfz 250 with it's opening salvo. This was the only time it shot in the game though as it took heavy and accurate fire and with it's morale crushed it was forced to retire.


This somewhat set the tone as the DAK firing was consistently accurate and whilst not often firing to kill they forced several units to take morale tests and stalled the Sikh advance.


The decisive moment came when the Sikh's launched an entire section at the central building held by the DAK, this was met with a devastating fusillade of fire which cut down five out of the eight attackers before they reached the building. Two more died in the combat with a lone NCO staggering away from the combat.


On the other flank I'd managed to wear down the morale of the Sikh recon team and forced a moral test (which they failed) by driving my Kubelwagon through them. These casualties along with those suffered on the other flank tipped the Sikh's over their break point (50%) so the DAK secured the win.


Next week we take a break from VfV to try out some 0200 Hours which we've only had one game of so far and that was a long time ago.


Sunday, 11 May 2025

V for Victory: Crossroads

The next scenario in the book we had to play was Crossroads. This sees the table split into 4 sections with VP's awarded for controlling a section at the end of the game (4 turns) and bonus VP's for destroying enemy units and holding the crossroads itself.


One interesting feature of the scenario is that all vehicles (and any passengers) start off table and need to be rolled for to come on. You need a 5+ on a D8 to bring a vehicle on and you roll before each of your seven activation cards so it's very likely you will get them all on in the first turn.


My DAK had planned to rush forwards with my MMG in a 250 and an infantry section in a truck to seize one of the buildings and then push towards the other with infantry on foot. With some decent rolling on the vehicle front I was able to occupy the building whilst the Sikh's slogged up on foot.


This then gave my troops in the building the chance to poor heavy fire into the infantry advancing against them wiping out one team, though that did open them up to the attention of the British armour. Fortunately they where unable to cause any damage to my troops in their heavy cover .


On the other flank the Sikh's had likewise occupied a building and held up my advance though I did manage to score a hit on the truck carrying their MMG which destroyed the truck and forced the MMG to bail out.


With the right building reasonably secure I was able to concentrate fire into the other building and keep the Sikh's from advancing over the road though that did allow a brave charge against my MMG by an infantry team. Despite forcing my MMG to beat a retreat no actual casualties where inflicted in the melee. 


This did leave the charging team exposed to concentrated fire however and they and the Humber A/C where both wiped out on the final turn.


So it ended with the DAK holding three quarters of the table, the crossroads and having killed several 8th Army units, so a handy win in the end.


Sunday, 4 May 2025

V for Victory: Double Header

This week as well as our normal Friday night game I also welcomed Stu over from Cirencester for a Saturday game of VfV.

Our Friday night game saw the Commonwealth forces trying to capture three buildings from my defending DAK. The 8th Army had 8 points of reinforcements to add to their core force and I had 4 points. Most of the allied points went into buying a Honey whilst I went with extra infantry and an A/T gun.


With the DAK deploying first the allies made a mistake in trying to push the entire front line rather than concentrating on one end or the other. They could have massed on one side of the line of hills to avoid the A/T gun and deployed MMG.


In the end I was able to neutralise two of the Sikh infantry teams meaning that they didn't have enough manpower to assault any of the buildings and despite taking a pounding from the tank and mortar was never really in any danger of losing a building. 


The second game once again saw the DAK on the defensive with the 8th Army this time attempting to get vehicles off the opposite table edge to score VP's.


It was a somewhat cautious advance to start off with by the allies but given the movement range of vehicles it was actually rather easy for them to zoom an Indian Pattern Carrier off and secure an unassailable points lead.